

Sewing a pleated blouse in wool flannel from 1970’s Gunne Sax Simplicity 8907 pattern


TOTAL TIME COMMITMENT: 19 hours including toile
Toile (without buttons, lining, interior seam finishing, basting stitch removal or hemming) and pattern amends: 7 hours
Cut out & transfer all pattern markings: 1.5 hours
Main construction: 8.5 hours
Lining construction: none
Finishings (buttons, hem): 2 hours
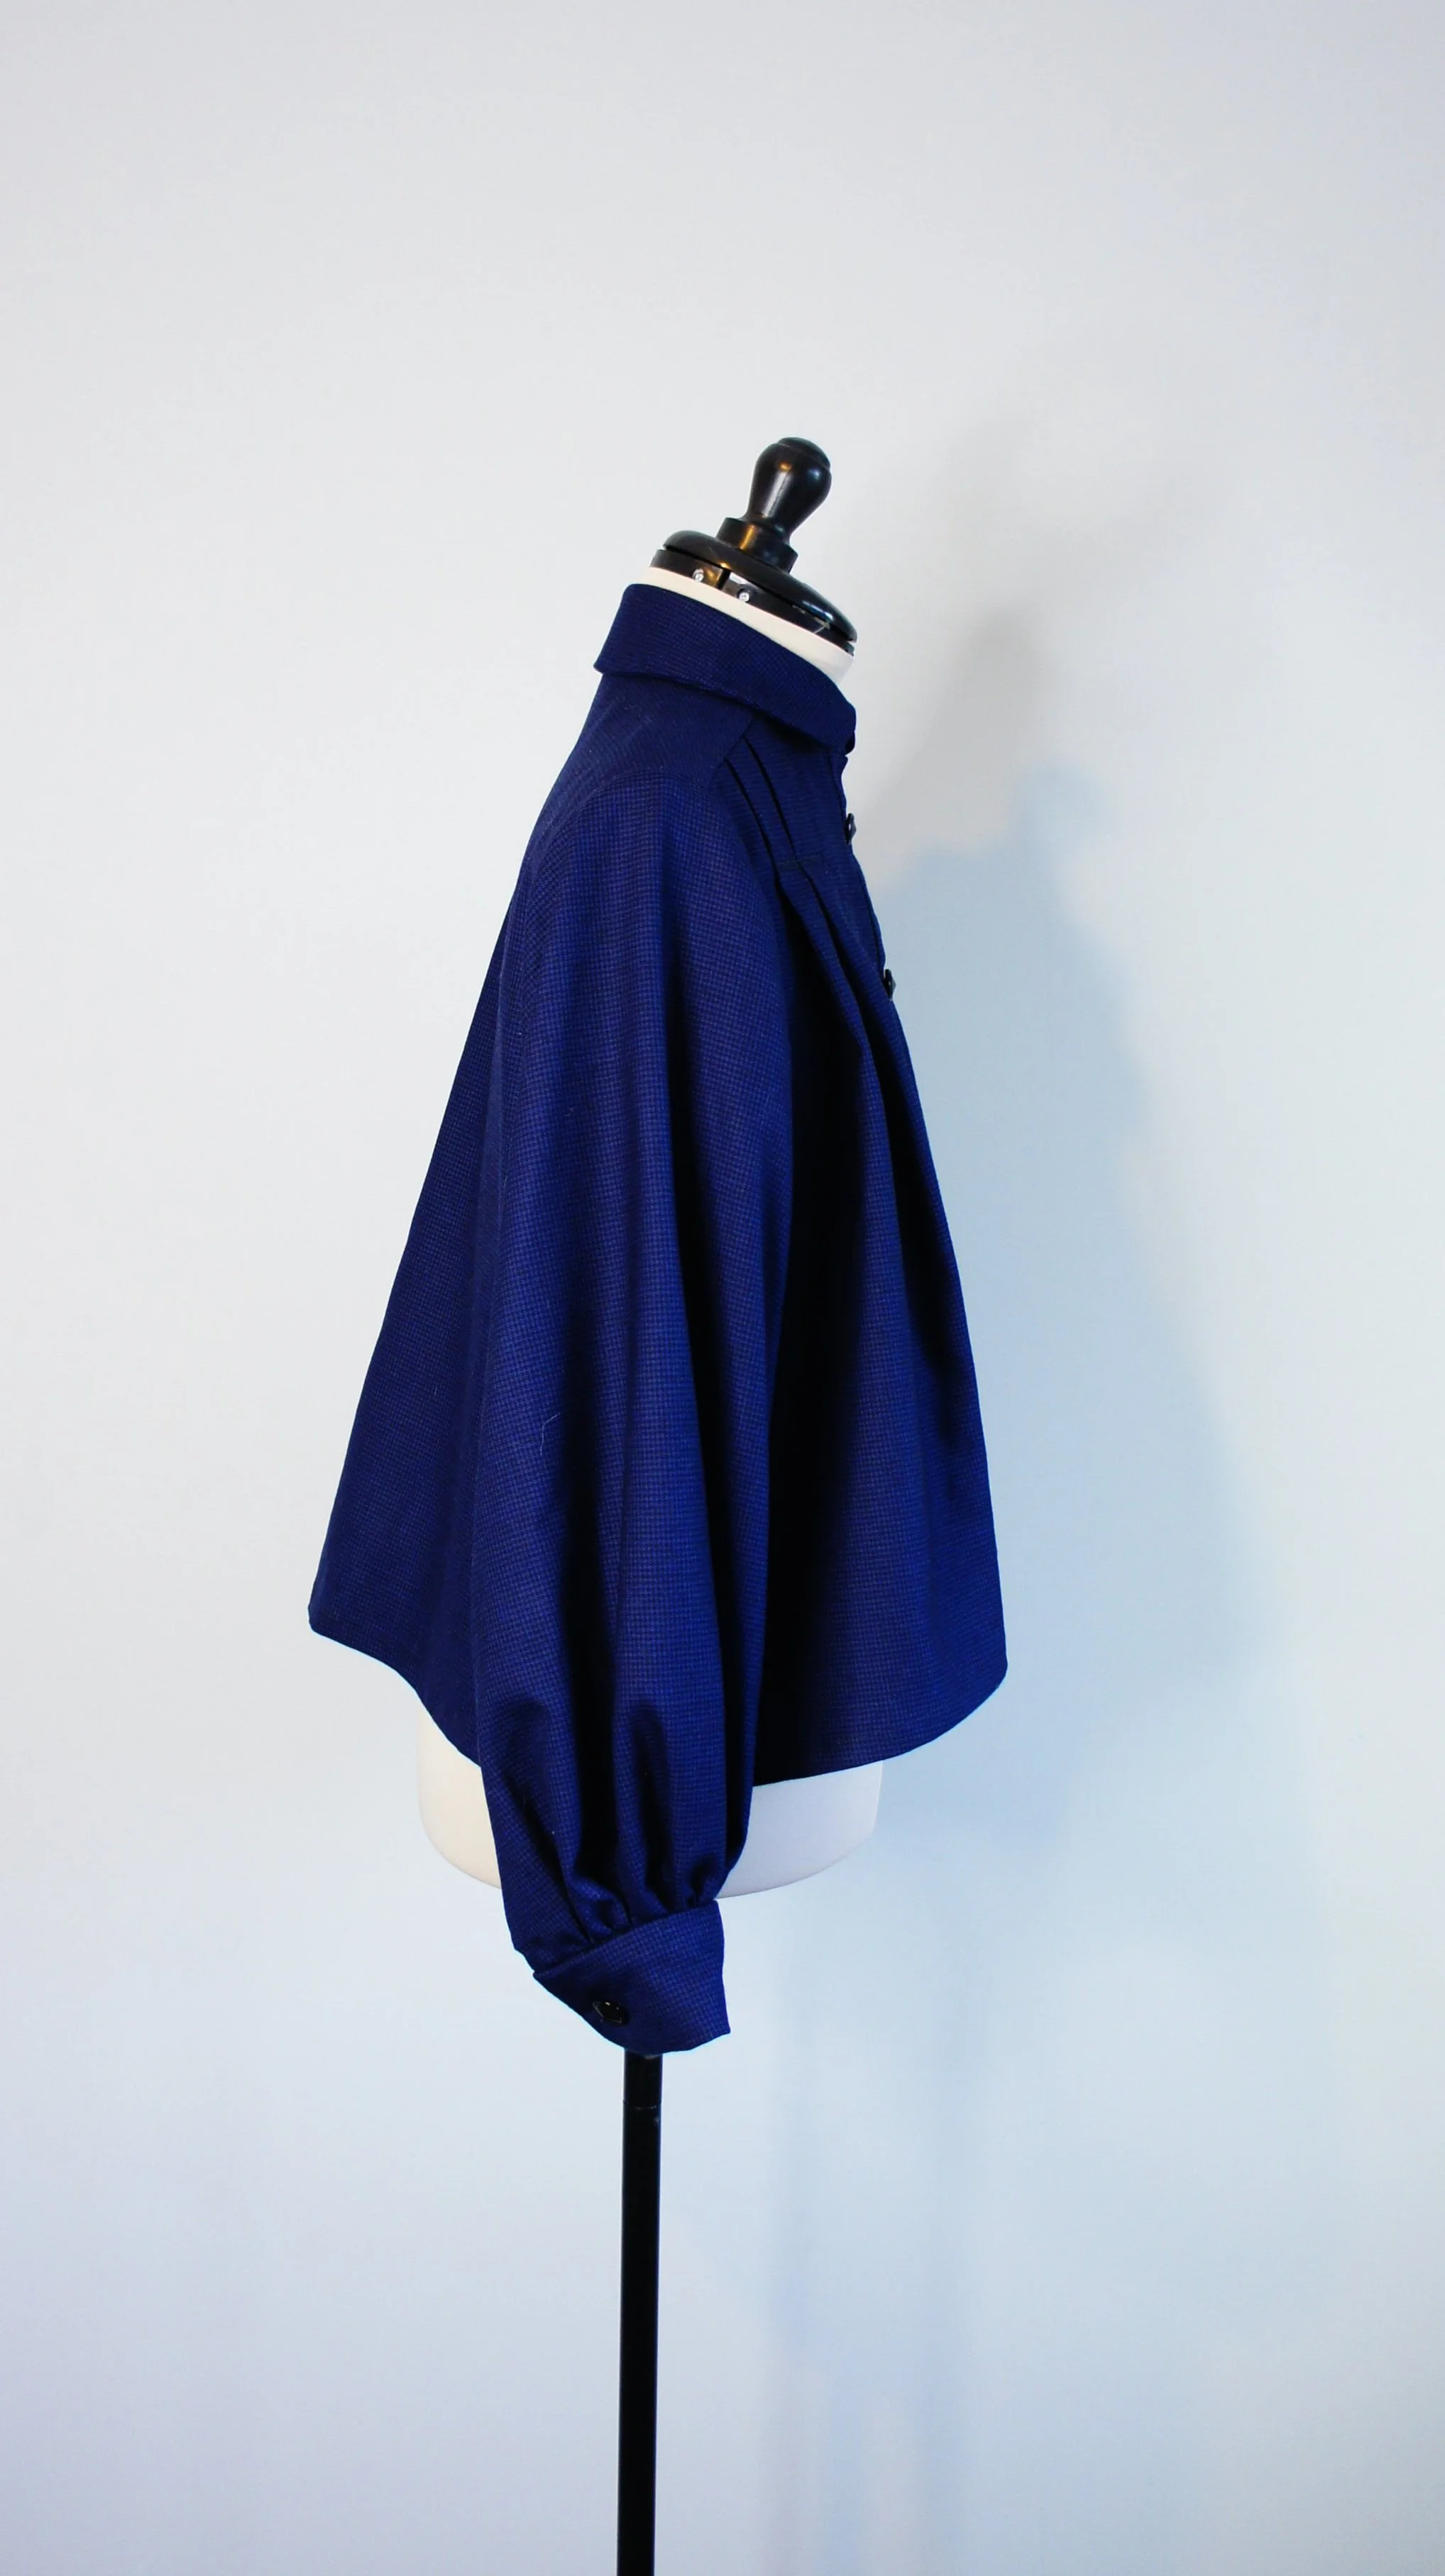
Fabric type
Wool flannel
Fabric weight
estimate 170gsm


VERDICT & LESSONS LEARNT
Size 11 Junior is an excellent starting size for me – I had to make hardly any adjustments to the neck, chest & shoulder (the usual places I need to adjust). The only thing I needed to do was lower the bottom of the armhole, and shorten the bodice by 1 inch. This pattern already had plenty of room at the bust due to the pleats, and plenty of room at the bicep because of the full sleeve. Had this been more fitted in those areas, doubtless I could have also had to do a full bust and fuller bicep adjustment, but the fit across the back, shoulders and chest is particularly nice.
I also adjusted the placement of the stitching across the pleats, raising them up to be more flattering on my petite frame, and also so that they were not so close to the bust area which caused the fabric to pouch out over my full bust, making me look disproportionately large there.
BUTTON HOLES NEED TO BE VERTICAL ON BLOUSES EXCEPT AT THE COLLAR!! I did them horizontally on this, and they extend beyond the edge of the placket, which I will have to live with, but feel a bit daft since they really should be vertical. It did also occur to me that if a blouse pattern has a defined placket, this determines the max size of button I can use.
Also, I need to remember that my choice of interfacing for anywhere there is going to be buttonholes, is really important. I need to choose a facing that will blend in effortlessly when the buttonholes are cut. I used a white interfacing on this, but because it is a darker fashion fabric, you can see little tufts of white where I have cut for the buttonholes. Not a disaster, but would have been so much better to have used a black interfacing.
This is the heaviest fabric I could use for this design I think, and as a matter of fact, it could look much much better on me in a super lightweight fabric like cotton batiste or crepe-de-chine. Made up, wearing it feels a tiny bit like wearing a jacket, so nice and substantial, but I think I would prefer it in a lighter weight fabric. This fabric would be better suited to a trouser or skirt I think.
I learnt a lot about proportioning a loose fit blouse on my petite frame – when there is quite a bit of extra fabric across the front, I need to be very careful and really, these look best on me as cropped blouses, as I ended up doing with this pattern.
Very pleased to find a use for the decorative stitching, but I didn’t do this in a contrasting thread, so it can hardly be seen on the finished blouse.
VARIATION IDEAS FOR ANOTHER MAKE
Make it in a much more lightweight fabric, perhaps sheer as in the sewing pattern photo.
Make the collar, button placket and cuff with a decorative scalloped edge (pattern pieces drafted)
Or make the collar and cuff inserting a piping or lace trim in a contrast colour to define the edge – this will work beautifully well if the main blouse is made in a plain fabric
Travel itineraries for Autumnwear


